Complete Home Office Setup Guide: The 2026 Checklist
Build a productive home office from scratch with this complete 2026 setup guide. Covers desk, chair, lighting, audio, network, and ergonomics with a full checklist.
9 min read · Home Office Guide Team
The Complete Home Office Setup Guide
A great home office does not happen by accident. It is the result of deliberate choices about furniture, ergonomics, lighting, acoustics, and connectivity, each of which compounds on the others. Done well, a home office becomes a place you want to work, where your body feels good at 5 PM and your focus stays sharp through the afternoon. Done poorly, it becomes the spare bedroom setup that leaves you stiff, distracted, and on a slow path to repetitive strain injury.
This guide walks through every layer of a complete home office setup, from the floor up. Use it as both a planning checklist for a new space and an audit checklist for an existing one. By the end you will have a desk, chair, peripherals, lighting, and connectivity tuned for productivity and long-term health.
Who This Guide Is For
This guide is for anyone setting up a home office for sustained remote work, whether you are new to working from home, upgrading from a kitchen-table setup, or auditing an existing space for ergonomic problems. It applies equally to employees, freelancers, and students who spend more than 20 hours a week at their desk.
Step 1: Choose and Prepare the Right Space
Before buying anything, choose your space. The room matters more than any single piece of equipment.
- Pick a dedicated space. Even a corner is fine if it is consistently yours. Avoid shared spaces like dining tables where you must set up and tear down daily.
- Prioritize natural light, but control it. Daylight improves mood and focus, but a window behind your monitor causes glare and a window behind you turns you into a silhouette on video calls. Position your desk perpendicular to windows where possible.
- Check power and network. Ensure you have at least two outlets within reach and reliable Wi-Fi or wired Ethernet. If signal is weak, plan for a mesh node or a long Ethernet cable.
- Consider acoustics. Hard floors and bare walls create echo that is distracting on calls. A rug and soft furnishings reduce this significantly.
Step 2: Choose Your Desk
Your desk is the foundation. See our standing desk guides for detailed recommendations, but the decision points are:
- Height-adjustable or fixed? A standing desk lets you alternate positions, which is healthier over a long day. A fixed desk is fine if you take manual standing breaks.
- Size and depth. Minimum 48 inches wide and 28 inches deep for a single monitor; 60 inches wide for dual monitors. Anything shallower pushes monitors too close.
- Cable management. Look for grommets, an under-desk tray, or budget for an aftermarket tray. Cables are the most common complaint in DIY setups.
- Stability. If you buy a standing desk, prioritize stability over motor speed. A wobbly desk at standing height is worse than a fixed desk.
| Desk Tier | Budget | What to Expect |
|---|---|---|
| Ultra-budget | $150-$300 | Single motor, some wobble, basic |
| Solid mid-range | $400-$600 | Dual motor, stable, presets |
| Premium | $700-$1,200 | Rock-solid, wide range, long warranty |
Step 3: Choose Your Chair
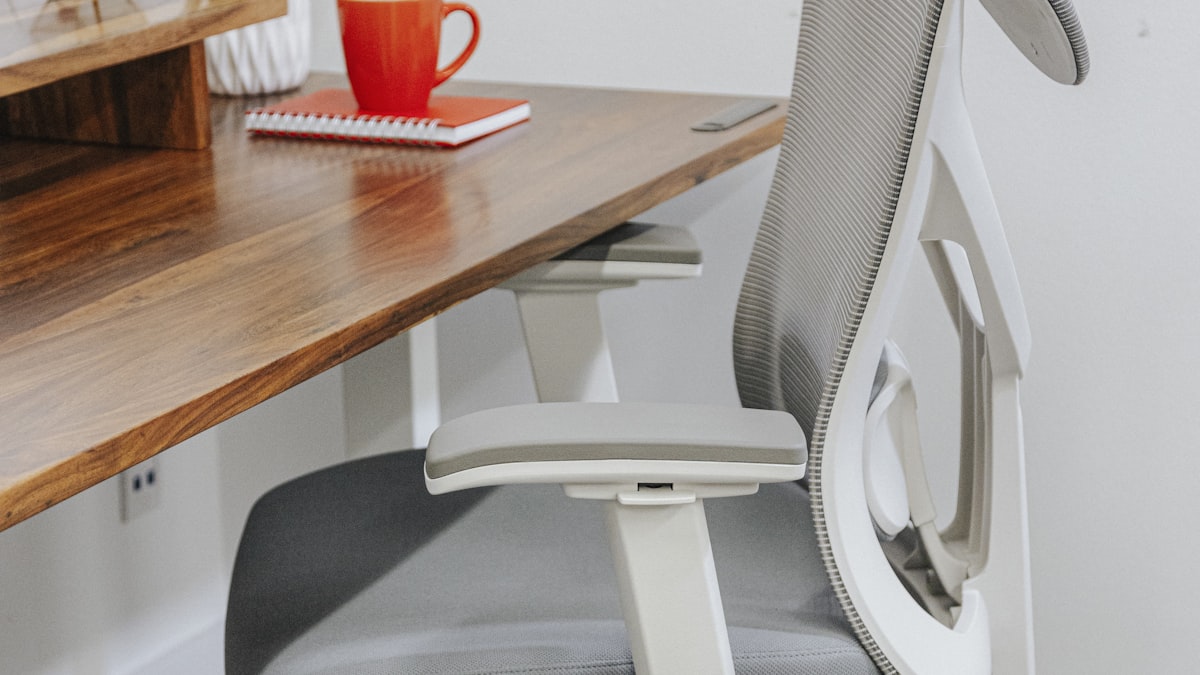
The chair is the highest-leverage ergonomic purchase. See our ergonomic chair guides for specifics, but prioritize:
- Adjustable lumbar support. Non-negotiable. The lumbar should sit in the small of your back and adjust to your spine.
- Seat depth adjustment. Critical if you are shorter than 5'5" or taller than 6'2".
- Adjustable armrests. Height and width at minimum; 3D or 4D armrests let you set forearm support at desk height.
- Breathable material. Mesh or breathable fabric prevents heat buildup.
Set your budget on the chair first, then the desk. Your body touches the chair for far more hours than the desk.
Step 4: Position Your Monitor
Monitor position is the single biggest determinant of neck comfort. Get this wrong and even the best chair cannot save you.
- Height: The top edge of the screen should sit at or just below eye level when you sit upright.
- Distance: About an arm's length (20-30 inches) from your eyes.
- Angle: Tilt the screen back 10-20 degrees so your eyes naturally sweep down to the center.
- Use a monitor arm: A monitor arm lets you hit these numbers exactly and reclaims desk depth.
If you use a laptop, do not work directly on it for more than short periods. Use a laptop stand plus an external keyboard and mouse, or a docked external monitor.
Step 5: Choose Your Keyboard and Mouse
Your keyboard and mouse affect both productivity and wrist health.
- Keyboard: A mechanical or low-profile ergonomic keyboard reduces finger fatigue. For long-term wrist health, consider a split keyboard.
- Mouse: A vertical mouse or ergonomic trackball (like the Logitech MX Master or MX Vertical) reduces forearm pronation. For heavy pointing work, a trackball can save your wrist.
- Positioning: Keyboard at elbow height, mouse immediately beside the keyboard (no reaching).
Step 6: Plan Your Lighting
Lighting affects both how you feel and how you look on calls.
- Ambient light first. Soft, even room light reduces eye strain. Avoid a single harsh ceiling light.
- Task light second. A desk lamp with adjustable color temperature (4000K-5000K) for reading and writing.
- Video light third. A small panel or monitor light bar that throws soft light on your face from in front of you. See our desk lamp guide for specifics.
- Avoid backlight on calls. A window or bright lamp behind you ruins video quality.
Step 7: Solve Audio for Calls
Built-in laptop audio is universally bad. A few upgrades make a large difference.
- Headset or dedicated mic. A quality USB headset or a desk mic (Blue Yeti, Elgato Wave) drastically improves how you sound.
- Acoustic treatment. A rug, curtains, and a soft wall hanging reduce echo. Foam panels are optional and only necessary for very reflective rooms.
- Speaker considerations. If you use speakers, position them away from the microphone to avoid echo.
Step 8: Sort Out Power and Connectivity
A clean setup is a productive setup. Plan your power and network before adding peripherals.
- Surge protector with enough outlets. Buy one with at least 8 outlets and USB ports.
- Under-desk power strip mount. Keeps cables off the floor.
- Wired Ethernet where possible. Lower latency and more stable bandwidth than Wi-Fi, which matters for video calls and large uploads.
- Cable sleeves or channels. Bundle cables by direction (desk-to-wall, desk-to-peripherals) to keep things tidy.
Step 9: Add the Finishing Touches
Small touches improve comfort and focus without spending much.
- Anti-fatigue mat if you have a standing desk.
- Plant for air quality and visual rest.
- Water bottle within arm's reach for hydration.
- Notepad for quick captures away from the screen.
The Complete Home Office Checklist
| Category | Item | Done |
|---|---|---|
| Space | Dedicated work area | |
| Space | Natural light, controlled | |
| Space | Reliable power and Wi-Fi | |
| Desk | Correct size for your monitor setup | |
| Desk | Stable (especially if height-adjustable) | |
| Desk | Cable management planned | |
| Chair | Adjustable lumbar support | |
| Chair | Seat depth adjustment | |
| Chair | Adjustable armrests | |
| Monitor | Top edge at eye level | |
| Monitor | Arm's length distance | |
| Monitor | Monitor arm or stand | |
| Peripherals | Quality keyboard | |
| Peripherals | Ergonomic mouse | |
| Peripherals | Laptop stand or dock | |
| Lighting | Ambient room light | |
| Lighting | Task lamp with adjustable color | |
| Lighting | Face light for video calls | |
| Audio | Quality headset or microphone | |
| Audio | Acoustic softening (rug, curtains) | |
| Power | Surge protector | |
| Power | Under-desk power mount | |
| Connectivity | Wired Ethernet or strong Wi-Fi | |
| Finishing | Anti-fatigue mat | |
| Finishing | Plant, water, notepad |
Common Mistakes to Avoid
- Buying the desk before the chair. The chair affects your body for more hours; budget accordingly.
- Working directly on a laptop. This forces a permanent neck-down posture that causes strain.
- Putting the monitor on its stock stand without checking height. Most stock stands sit too low.
- Ignoring cable management until everything is plugged in. Plan it before you mount anything.
- Skimping on the chair and spending on aesthetics. A beautiful uncomfortable chair is still uncomfortable.
Frequently Asked Questions
How much does a complete home office setup cost?
A solid functional setup costs $1,200-$2,000: $500 for a desk, $400 for a chair, $200 for a monitor arm, $150 for keyboard and mouse, and $150 for lighting. Premium setups run $3,000-$5,000.
What should I buy first when setting up a home office?
The chair, then the desk, then the monitor arm, then peripherals and lighting. The chair is the single highest-impact purchase for daily comfort.
Do I need a standing desk to be ergonomic?
No. A standing desk helps by letting you alternate positions, but a fixed desk with a good chair and regular standing breaks is also ergonomic. The chair matters more than desk type.
How do I improve video call quality without spending much?
Light your face from the front with a daylight-balanced lamp (4500K-5000K), and avoid backlight. This single change improves video quality more than a new webcam.
Conclusion
A great home office is built deliberately, layer by layer. Start with the chair (it touches your body most), then the desk (it sets your work surface), then your monitor position (it sets your neck), then peripherals and lighting (they refine productivity and comfort). Use the checklist above as a roadmap, and prioritize ergonomics over aesthetics. Your body will thank you in five years.
Last updated: June 2026. We update this guide annually as new products and best practices emerge.